 Save
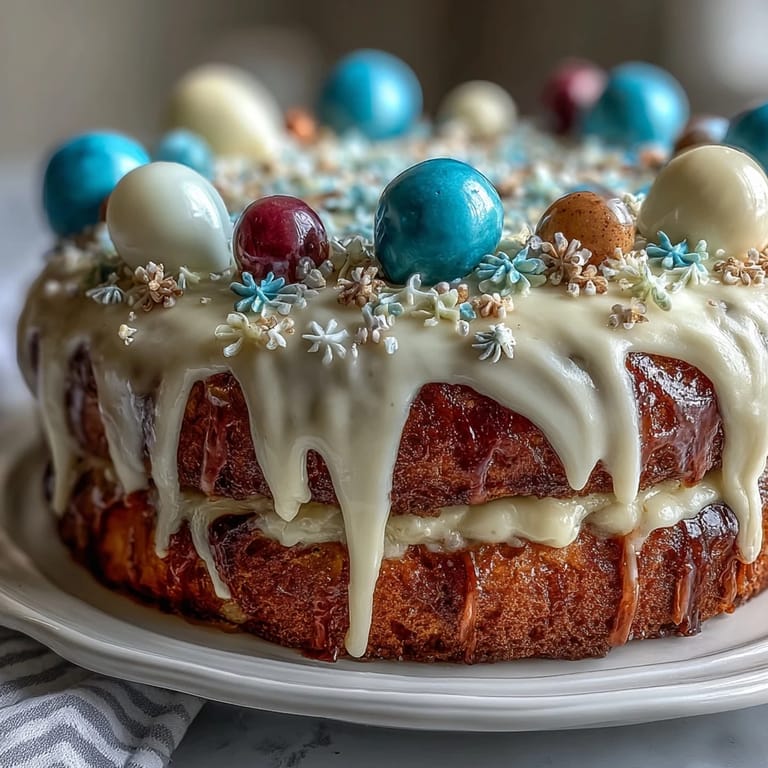
Save My friend Sarah called me in a panic two weeks before her daughter's graduation, asking if I could make a cake that would make everyone stop mid-conversation and actually look at it. I'd never attempted a two-tier cake before, but something about the challenge made me say yes immediately. Standing in my kitchen at midnight, surrounded by flour and butter, I realized this wasn't just about baking—it was about creating the edible centerpiece for someone's milestone moment.
When I finally stacked that first two-tier cake and stepped back to look at it, my hands were literally shaking. I'd somehow managed to make something that looked like it belonged in a bakery window, and I couldn't believe I'd created it in my own kitchen. That's when I understood why people love baking for celebrations—it's the only time you get to hand someone your pride, literally on a plate.
Ingredients
- All-purpose flour: Use fresh flour because old flour absorbs less liquid, and you'll end up with a dense cake instead of that cloud-like crumb you're after.
- Baking powder: The unsung hero that makes this cake rise evenly and stay moist for days after baking.
- Granulated sugar and unsalted butter: Room temperature is non-negotiable here—cold butter won't cream properly, and you'll lose that light, fluffy texture.
- Large eggs: They need to be room temperature too, so they emulsify smoothly into the batter and create those tiny air pockets that keep the cake tender.
- Pure vanilla extract: The real stuff makes a noticeable difference in depth of flavor, so don't skip it for imitation.
- Whole milk: Room temperature milk blends seamlessly without shocking the warm batter and creating lumps.
- Powdered sugar for frosting: Sift it even if you think it's already fine, because tiny lumps hide in there and ruin your frosting's silky finish.
- Heavy cream or milk for frosting: This determines your frosting consistency, so add it slowly and taste as you go.
- Gel food coloring: Gel is better than liquid because it won't thin out your frosting the way water-based food coloring does.
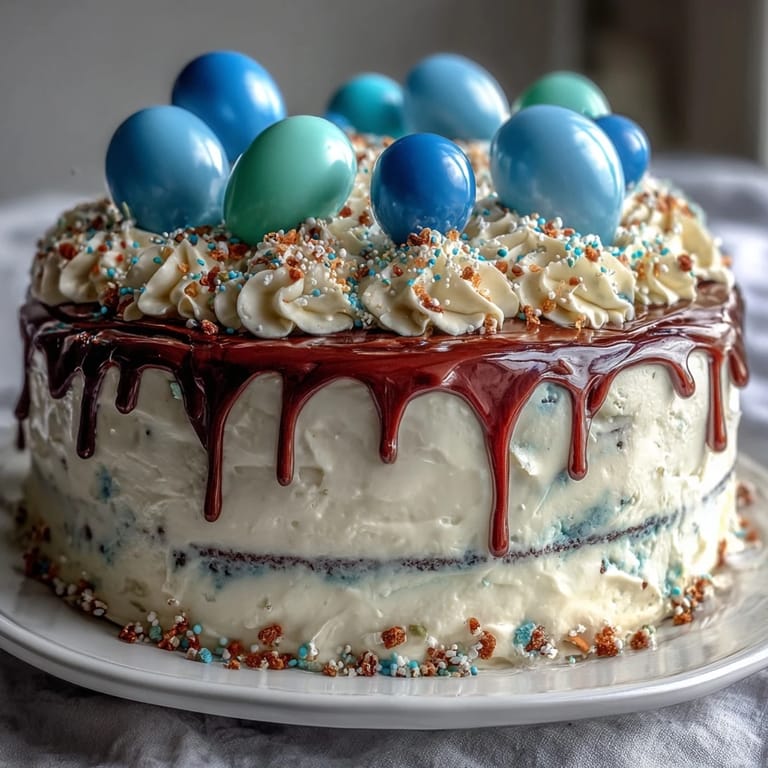
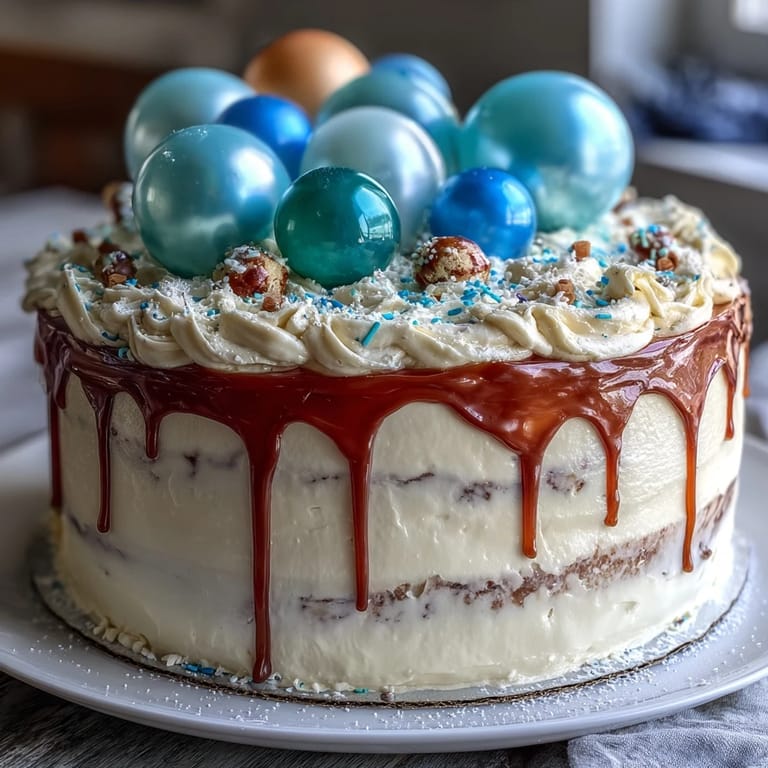
- Balloon toppers: These transform a beautiful cake into a celebration, so choose ones in colors that match the graduate's school or personality.
Tired of Takeout? 🥡
Get 10 meals you can make faster than delivery arrives. Seriously.
One email. No spam. Unsubscribe anytime.
Instructions
- Set yourself up for success:
- Preheat your oven to 350°F and grease both the 8-inch and 6-inch pans with butter, then line them with parchment paper cut to fit the bottoms perfectly. This little step prevents sticking disasters that can ruin an otherwise perfect cake.
- Build your dry base:
- Whisk flour, baking powder, and salt together in a medium bowl, making sure everything is evenly distributed so your cake rises uniformly. Set this mixture aside and give yourself a moment to breathe—you're doing great.
- Cream the magic into existence:
- Beat room-temperature butter and sugar together for a full 3 to 5 minutes until it looks pale and fluffy, almost like a cloud. This creaming step is where the cake's lightness comes from, so don't rush it.
- Introduce the eggs gently:
- Add eggs one at a time, beating well after each addition so they fully incorporate into the butter mixture. If you add them all at once, you'll end up with a broken batter that bakes up dense.
- Fold in vanilla:
- Mix in the vanilla extract so it's evenly distributed throughout the batter, which ensures every slice tastes consistently delicious.
- Alternate and trust the process:
- With the mixer on low speed, add the flour mixture and milk in three additions, starting and ending with flour and mixing just until combined after each addition. Overmixing at this point develops too much gluten and makes the cake tough, so resist the urge to keep beating.
- Divide and fill:
- Split the batter evenly between the 8-inch and 6-inch pans, then tap them gently on the counter a few times to release any large air bubbles that could create tunnels in your finished cake.
- Bake with patience:
- Bake the 8-inch cakes for 35 to 40 minutes and the 6-inch cakes for 25 to 30 minutes, checking with a toothpick in the center—it should come out clean or with just a few moist crumbs. The smell at this point is absolutely intoxicating.
- Cool with care:
- Let cakes rest in their pans for 10 minutes so they set slightly, then turn them out onto wire racks to cool completely. Frosting a warm cake is a recipe for it sliding everywhere, so patience here saves you headache later.
- Make frosting like a pro:
- Beat room-temperature butter until it's creamy and pale, then gradually add sifted powdered sugar while beating, adding the milk or cream one tablespoon at a time until you reach that perfect spreadable consistency. Taste it and adjust vanilla and salt to your liking.
- Prepare the layers:
- If your cake tops are domed, level them with a serrated knife so they stack evenly, then place one 8-inch layer on a cake board and spread a generous layer of buttercream on top. Repeat the process for the 6-inch cakes.
- Apply the crumb coat:
- Cover both cakes with a thin layer of buttercream to seal in the crumbs, then refrigerate for 20 minutes so this coat hardens and gives you a clean surface for the final frosting. This step is what separates messy-looking cakes from bakery-quality ones.
- Frost with confidence:
- Apply the remaining buttercream in smooth, even strokes using an offset spatula, rotating the cake as you go so everything looks intentional and polished. A cake turntable makes this infinitely easier, but a lazy Susan works too.
- Stack and secure:
- Center the 6-inch cake on top of the 8-inch cake, using dowels or straws inserted into the larger cake as support so the weight doesn't squish everything. This structural support is invisible but absolutely essential for a two-tier cake.
- Crown with celebration:
- Arrange your balloon toppers on top and scatter edible confetti or sprinkles around the base if you're feeling fancy. Step back and admire what you've created.
 Save
Save I'll never forget the moment Sarah walked into the reception and saw that cake sitting on the gift table, surrounded by those bright balloon toppers. Her daughter's face went from graduation-day tired to absolutely radiant, and suddenly everyone stopped eating and started taking photos of the cake instead. That's when I realized that baking for celebrations isn't just about sugar and butter—it's about creating an object that makes people feel like their moment matters.
The Two-Tier Advantage
A two-tier cake looks exponentially more impressive than a single layer, but it's surprisingly forgiving to bake because you're making two separate cakes instead of trying to stack three or four layers and keep them from sliding everywhere. The smaller top tier actually stabilizes itself once you use dowels in the bottom, and the different sizes create visual interest without requiring any fancy decorating skills. I've made this cake for three celebrations now, and each time someone swears I must have studied pastry school.
Flavor Variations That Elevate the Moment
If straight vanilla feels too simple, you can add half a teaspoon of lemon or almond extract to the batter, which adds a subtle sophistication without tasting artificial. For the frosting, a tablespoon of cream cheese mixed in adds a slight tang that balances the sweetness beautifully. I've even tinted the frosting with the graduate's school colors, and watching people's faces when they realize the cake matches the program colors is honestly priceless.
Timing and Storage Tips
You can actually bake the cakes a day ahead and wrap them tightly to keep them from drying out, which takes massive pressure off your graduation-day morning. The buttercream keeps for three days in an airtight container in the refrigerator, so you can even make that ahead too. Here's what you absolutely need to know about making this cake stress-free:
- Assemble the cake no more than 4 hours before serving so the frosting stays fresh and the balloon toppers don't get crushed by condensation in the fridge.
- If your kitchen is warm, keep the frosting in the fridge between applications so it stays firm enough to spread smoothly instead of melting.
- Transport the cake on a flat, stable surface in a box, and keep it out of direct sunlight which can make gel food coloring fade.
 Save
Save This cake represents more than just dessert—it's edible proof that you showed up for someone on their important day. Every time someone takes a bite and their eyes light up, you'll know exactly why you spent those hours in the kitchen.
Kitchen Guide
- → How do I ensure the cake layers bake evenly?
Use properly greased pans with parchment lining and bake at the recommended temperature. Check doneness with a toothpick for a clean pull.
- → What is the best way to achieve smooth buttercream frosting?
Beat unsalted butter until creamy before gradually adding powdered sugar. Incorporate milk or cream slowly and mix until smooth and spreadable.
- → How can I prevent the two tiers from sliding once stacked?
Chill each tier after applying a crumb coat, then use dowels or straws inserted into the bottom tier to support the upper one securely.
- → Can I customize the balloon decorations?
Yes, use gel food coloring to tint frosting in school or event colors and arrange balloon toppers with edible sprinkles for a personalized touch.
- → What variations can be added to enhance flavor?
Consider adding lemon or almond extract to the sponge batter for a subtle twist that complements the vanilla and buttercream.